
“I want to learn how to play the piano, but I don’t know where to start…” — many beginners share this concern.
In fact, whether or not you acquire the correct playing technique from the beginning greatly affects the speed of your improvement later on.
This time, focusing on how to play the piano, we’ll explain posture, finger form, effective practice methods, and recommended practice pieces.
5 Basic Steps to Playing the Piano
1. Correct Posture and Sitting Position
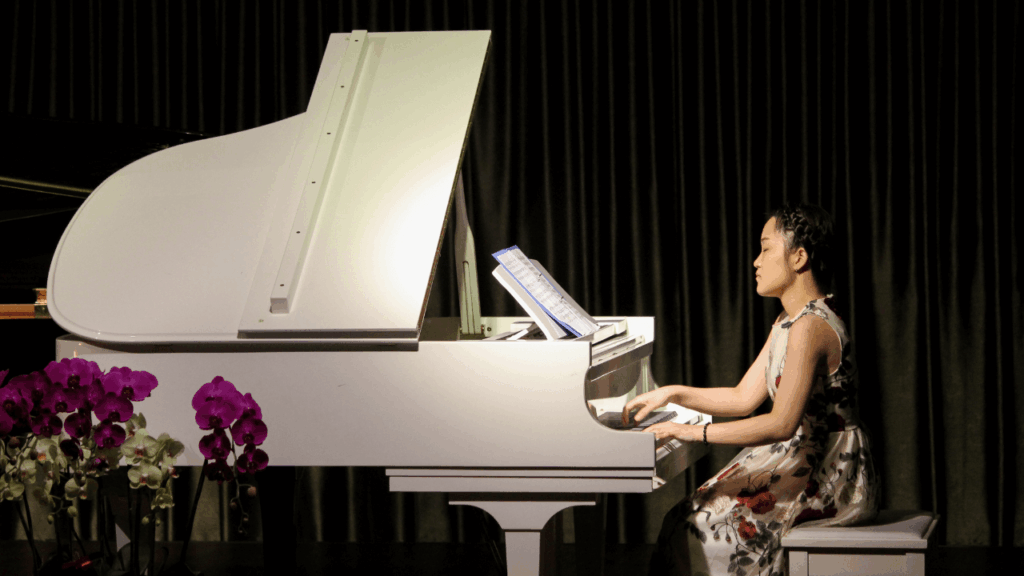
- Chair height: The keyboard and forearm should be level.
- Balance: Support your weight with your sit bones, lightly straighten your back, and keep the upper body relaxed.
2. Hand Shape and Finger Numbers
- Curve your hand like holding an egg, pressing the keys with the fingertips and first joint.
- Be aware of finger numbers (thumb = 1, pinky = 5). Start with C position, practicing Do-Re-Mi-Fa-So back and forth.
3. Basics of Touch

- Transfer power from fingertips through the elbow, pressing firmly to the bottom and releasing immediately.
- Unnecessary arm tension after striking causes mistakes.

4. Developing a Sense of Rhythm
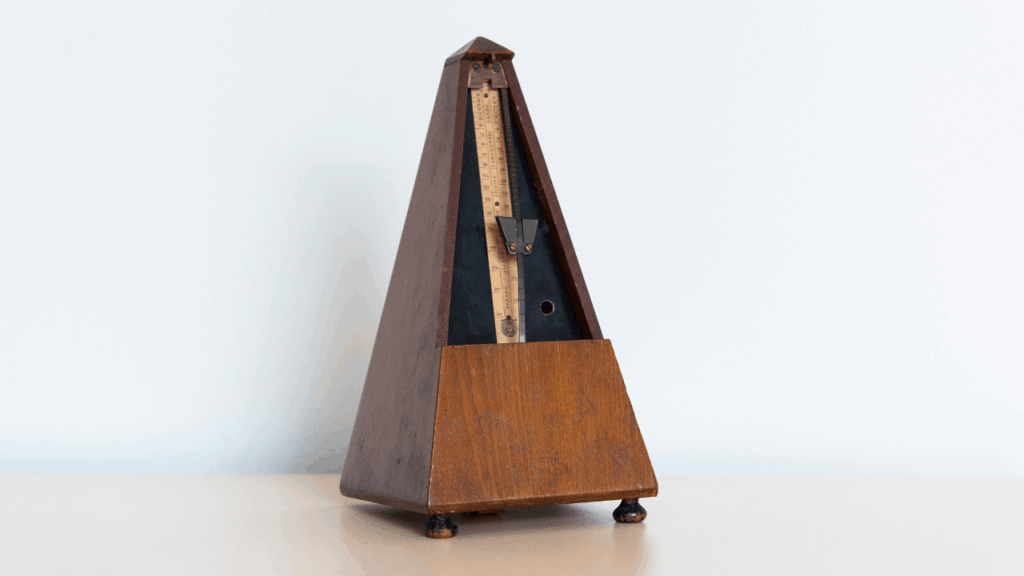
- Use a metronome even when practicing with one hand.
- Once you can play at quarter note = 60, gradually increase tempo. Always progress from “slow accuracy → faster tempo.”
5. Transition from One Hand to Both Hands

- Practice the phrase with the right hand only.
- Stabilize the accompaniment with the left hand only.
- Combine both hands at 80% tempo, then move to 100%.
10 Recommended Practice Pieces by Level
Super Beginner: Butterfly
Beginner: Frog Chorus (German Folk Song)
Elementary: Ode to Joy (Beethoven)
Lower Intermediate: The Entertainer
Intermediate: Turkish March (Mozart)
Upper Intermediate: Grande Valse Brillante (Chopin)
Advanced Challenge: Revolutionary Etude (Chopin)
Expression Enhancement: Gymnopédie No.1 (Satie)
Rhythm Strengthening: Flight of the Bumblebee (Rimsky-Korsakov)
3 Common Beginner Struggles and Their Solutions
| Struggle Point | Solution |
|---|---|
| Fingers are not independent and can’t play fast pieces | Practice Hanon No.1 slowly |
| Rhythm rushes / Hands get out of sync | Practice one hand at a time with a metronome → Record and check |
| Struggle with reading sheet music and take too long to find notes | Use sheet music with finger numbers for visual support |
Tip: If you set your daily practice as “5 minutes of basics + 15 minutes of piece practice,” it will be easier to maintain motivation.
3 Techniques to Improve Expressiveness

Dynamics: Be aware of the range from p (soft) to f (loud), and clearly balance melody and accompaniment.
Pedaling: The basic rule is to change the pedal when the harmony changes.
Rubato: Slightly relax the tempo at the end of a phrase, then return to the original tempo.
Frequently Asked Questions

Q. How much should I practice each day to improve?
A. More than time, “daily consistency” is the top priority. Even just 15 minutes of focused basics + piece practice will steadily train your fingers and ears.
Q. Which is better for faster improvement: self-study or lessons?
A. The fastest progress comes from a hybrid of lessons + self-practice. Consider lessons depending on your level and personality.
Q. Is a 61-key keyboard enough?
A. Many practice pieces can be played on 61 keys. An 88-key piano is safer since it covers all repertoire, but if you choose 61 keys, check in advance whether the pieces you want to play require more keys.
Summary
The correct way to play piano focuses on three main aspects: posture and touch, structured practice, and developing expressiveness.
By following the 5 basic steps → recommended pieces by level, you can steadily improve even through self-study.
With daily practice and small consistent efforts, you will acquire the correct way to play piano.