
If you’re planning to learn piano on your own, you probably want to play your favorite songs at your own pace without spending time or money on lessons.
In fact, even with self-study, it’s absolutely possible to play the pieces you’ve dreamed of as long as you set up the right environment and follow the right steps.
This article presents a concrete fastest route to self-studying piano—from choosing an instrument and checking posture to a 20-minute daily practice menu and app tips that accelerate progress—so even busy working adults can keep going.
- Pros and Cons of Self-Study
- Setting Up Your Environment: How to Choose a Piano
- Complete Posture & Form Checklist
- How to Choose Sheet Music & Method Books You Won’t Quit
- 7 Steps to Self-Study Success + How to Avoid Common Pitfalls
- 20 Minutes a Day × 4 Weeks + Split Plans for Busy People
- Materials & Videos That Accelerate Progress
- FAQ
- Self-Study the Right Way
Pros and Cons of Self-Study

Self-study lets you practice whenever you like, saves on lesson fees, and gives you the fun of choosing your own repertoire.
On the other hand, you’re more likely to develop bad habits in your form and it’s harder to get objective feedback—so be mindful of these weaknesses.
Pros
| Strengths of Self-Study | Why it helps |
|---|---|
| Flexible time | No lesson bookings. Late night or early morning is fine. |
| Cost saving | No monthly fees. You can start with just materials. |
| Free song choice | Classical / J-POP / game music—anything you feel like |
Cons
| Challenge | Example | Countermeasure |
|---|---|---|
| Form becomes self-taught | Slouching / dropped wrists | Review your Posture Checklist |
| Motivation dips | Busy / bored | Break goals weekly; share on social or by recording |
| Lack of objective feedback | Miss mistakes | Use recording / app assessments |
Many say, “I don’t want to be scolded now,” or “I’m worried about compatibility with a teacher,” but you can also combine self-study + occasional targeted lessons.
Setting Up Your Environment: How to Choose a Piano

If you want to fully express classical pieces, an acoustic piano with rich tone and touch is ideal. However, beginners often start on a digital piano.
With a digital piano, you can practice with headphones even at night or in shared housing.
If you choose a keyboard, be sure to confirm it has at least 61 keys. With too few keys, some pieces become unplayable when you move to hands-together playing or a wider repertoire.
- Number of keys: Minimum 61, ideally 88
- Hammer action: Heavier touch = closer to an acoustic
- Pedal: Half-pedal support increases expressiveness
- Placement: Put it on your daily path to double practice frequency
*When buying a keyboard, beware of “too few keys → can’t play certain pieces.”

Complete Posture & Form Checklist

The most common self-study pitfall is letting incorrect form—like slouching or dropped wrists—become a habit.
Sit on the front half of the bench and adjust the height so your elbows are roughly right angles.
Keep your hands rounded as if holding an egg and avoid fully straightening your fingertips.
| Item | NG Example | OK Example |
|---|---|---|
| Bench position | Sitting too deep | Sit on the front half of the seat |
| Distance to piano | Too close | About “two foot-lengths” from the keys |
| Back | Slouching | Straight spine + engage lower abdomen |
| Hand shape | Straight fingers | Rounded as if holding an egg |
| Bench height | Too low → dropped wrists | Elbows ≈ 90° |
➡ If you feel “this is hard to play,” your form may have collapsed—revisit the checklist above.
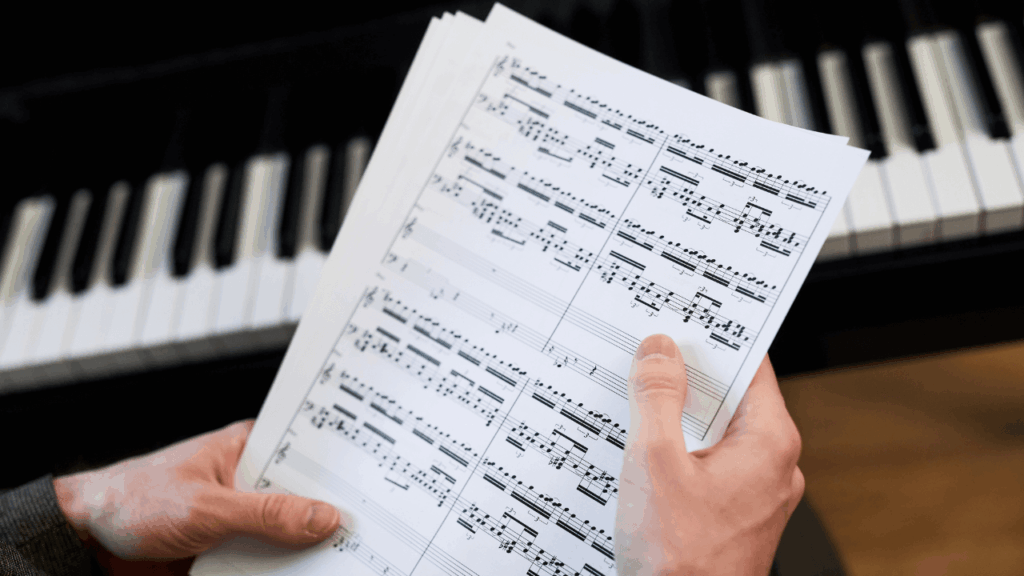
How to Choose Sheet Music & Method Books You Won’t Quit
Start with Easy Piano Scores
When choosing music, it’s important to pick a difficulty that matches your level for the song you want to play.
At first, moving the left hand independently is difficult, so start with simple scores like the ones below.
![10 Easy Classical Piano Songs for Beginners [Free PDF Sheet Music]](https://vrpiano.co.jp/wp-content/uploads/2025/06/ピアノ初心者向け-簡単クラシック楽譜10曲【無料PDF】-320x180.png)
Recommended Method Books
For beginners, it’s recommended to train your fingers with Hanon and level up while enjoying pieces with Burgmüller.


7 Steps to Self-Study Success + How to Avoid Common Pitfalls

The key to smooth self-study is to set concrete goals and progress steadily from hands-separate practice.
For example, set a deadline and passing bar like “Play the opening of ‘Für Elise’ in 3 months.”
Once you begin, spend the first 5 minutes on finger fundamentals like Hanon, 10 minutes reading your current piece hands-separately, and the remaining 5 minutes putting hands together—repeat this cycle every day.
| What to do | Common mistake → Fix |
|---|---|
| 1. Set a specific goal “Für Elise opening in 3 months” | Vague goals → Specify “date + piece + section” |
| 2. Master posture | Slouch / wrist pain → Monthly video check |
| 3. Read hands separately | Jumping to hands together → Get one hand accurate first |
| 4. 5 minutes of basics (e.g., Hanon) | Skip because it’s boring → Fix a 5-minute timer |
| 5. Apply with favorite songs | Too difficult → Use easy arrangements |
Reviewing a weekend recording of your performance shows tempo fluctuations and dropped notes you didn’t notice yourself.
Sharing practice logs on social media or video sites helps you stay motivated through feedback from peers with the same goals.
20 Minutes a Day × 4 Weeks + Split Plans for Busy People

If you can’t secure long stretches, a split approach works: 5 minutes of finger training in the morning and 15 minutes at night to work on your piece.
Before practicing, set a scope such as “Play through the A-section hands together today.” This way, you can build steady growth even in short sessions.
Use spare moments during the day to watch performance videos or do mental practice—it’s effective.
| Timing | Specific task |
|---|---|
| 5 min morning | Basics (one Hanon pattern) |
| 5 min lunch | Check note reading via video |
| 15 min night | Piece practice + record |
Decide “the 8 measures for today” before you start. Stop when cleared—this creates a sense of achievement and helps maintain motivation.
Materials & Videos That Accelerate Progress
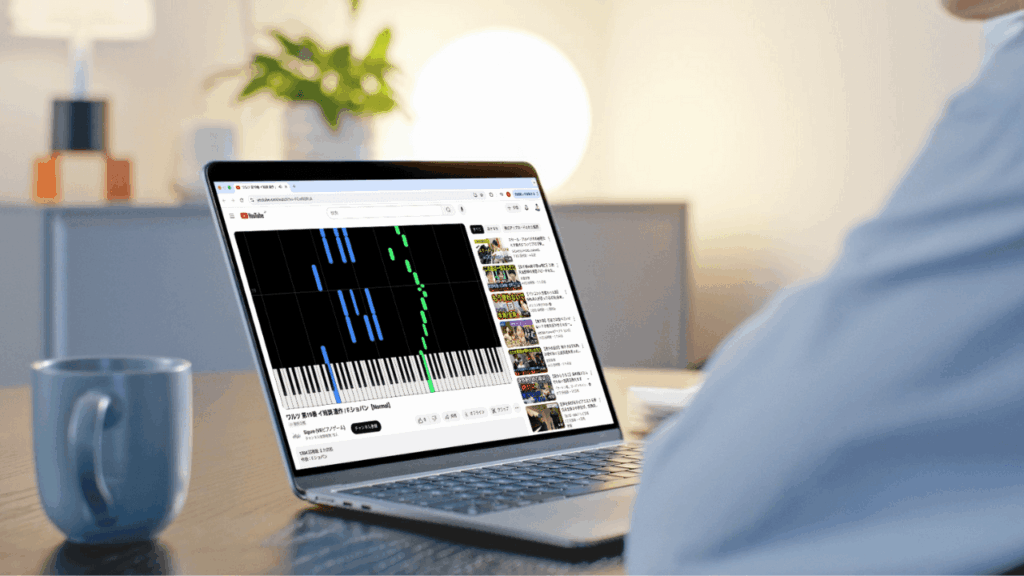
These days, combining keyboard-overlay performance videos and lesson channels helps even those who struggle with notation to learn finger movements visually.
Posting your performances on social media and encouraging each other with peers who share the same goals is also recommended to sustain motivation.
| Category | Features |
|---|---|
| YouTube lessons | Slow playback & keyboard view |
| Keyboard-overlay videos | Color guidance even if you’re weak at reading music |
| Communities | Share results with peers to boost consistency |
FAQ

Q. Will my fingers still improve if I start as an adult?
A. Yes. For finger control, “practice density” matters more than age. Touch the piano every day and you’ll see big changes in six months.
Q. Can I play classical music on a digital piano?
A. You can. With hammer action and pedal support, the touch is sufficient. If you have a recital, finish up by renting a practice room with a grand piano.
Q. Is it okay to write solfège (Do-Re-Mi) on the score?
A. It’s fine at the entry stage. After finishing one book, transition to reading without writing.
Self-Study the Right Way
- Self-study offers flexibility in time, cost, and song choice, but form and objectivity are weak points.
- Make daily practice a habit with a 20-minute plan
- Use videos and social media to boost motivation
Piano improves at any age—even with self-study—if you keep going with the right approach.
Use this guide as a roadmap and start today with the goal of “performing one dream piece in six months.”